

How To Draw A Birthday Present
Nothing beats the excitement of receiving and opening a present. During Christmas and our altogether, the presents are one of the things we're looking frontwards to the nearly.
Seeing piles of gifts and presents makes u.s.a. extremely happy, then that'southward exactly what we'll be drawing!
We have created a step-past-step tutorial on how to draw a present, summed up in 9 quick and easy steps.
Each pedagogy is accompanied with illustrations to go far a lot easier for you to follow the steps.
What's fun about this tutorial is that information technology allows you to customize your cartoon, enabling you to further hone your artistic skills.
Yous can personalize the blueprint on the souvenir wrapper as well as the gift bow at the pinnacle to create your very ain dream present!
Have fun and use your artistic skills!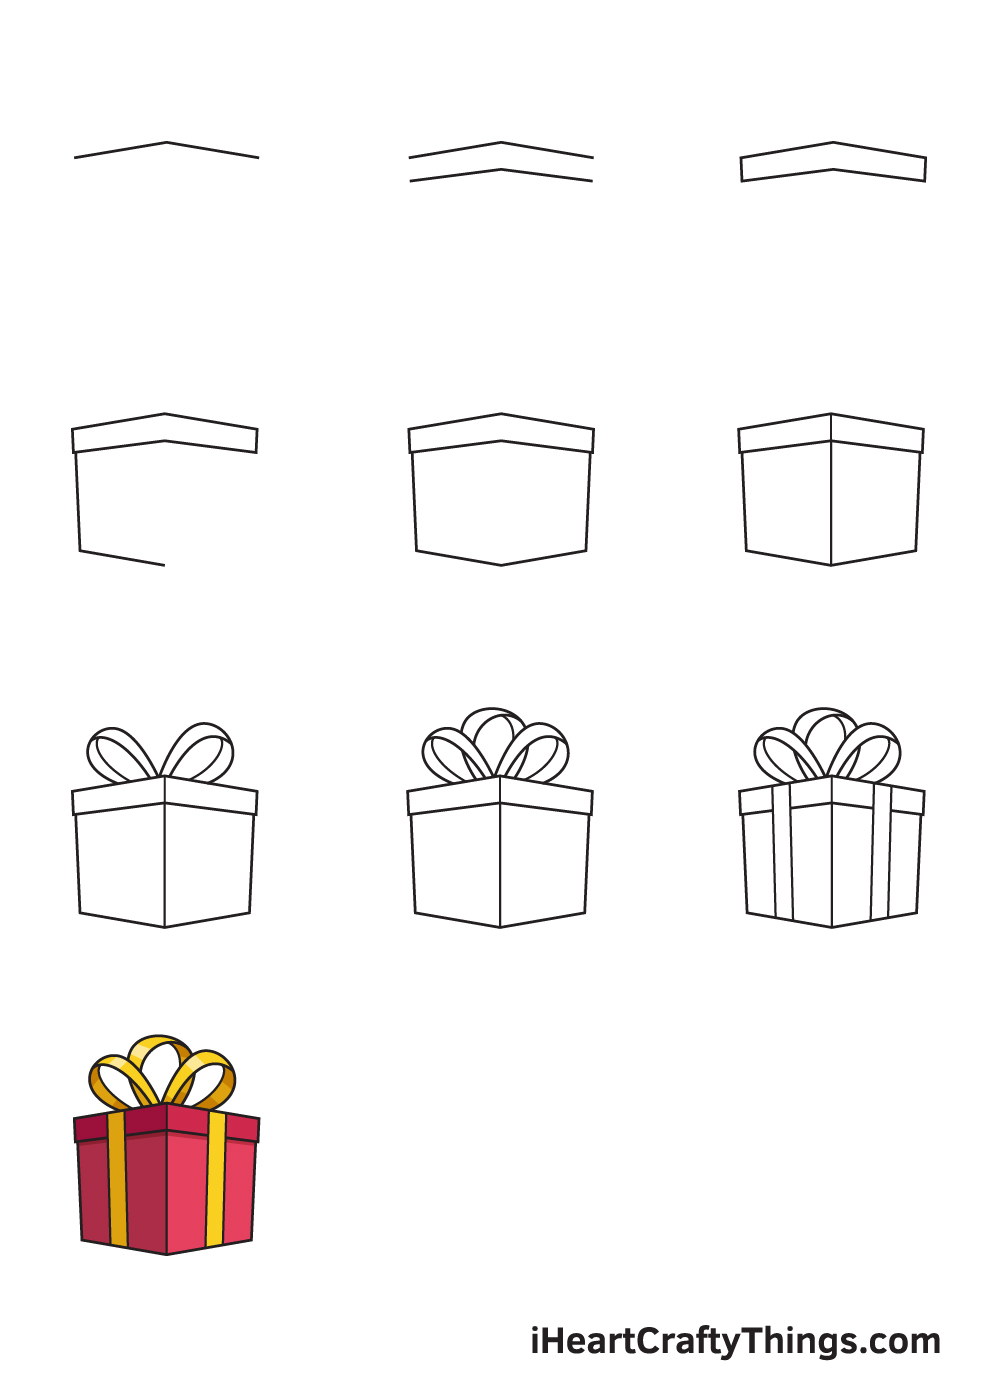
What'south in this Blog Post
- How to Draw a Present — Let's become started!
- Step 1
- Step 2 — Create an Outline of the Present's Lid
- Stride 3 — Now, Finalize the Hat of the Present
- Footstep 4 — Draw the Lesser Half of the Present
- Step 5 — Finalize the Structure of the Present
- Step half dozen — Draw the Dimensions of the Present
- Stride 7 — Side by side, Draw the Ribbons of the Present
- Stride eight — Complete the Bow at the Pinnacle of the Present
- Step 9 — Now, Gift Wrap Both Sides of the Present
- Your Present Drawing is Complete!
How to Draw a Present — Let'due south become started!
Step 1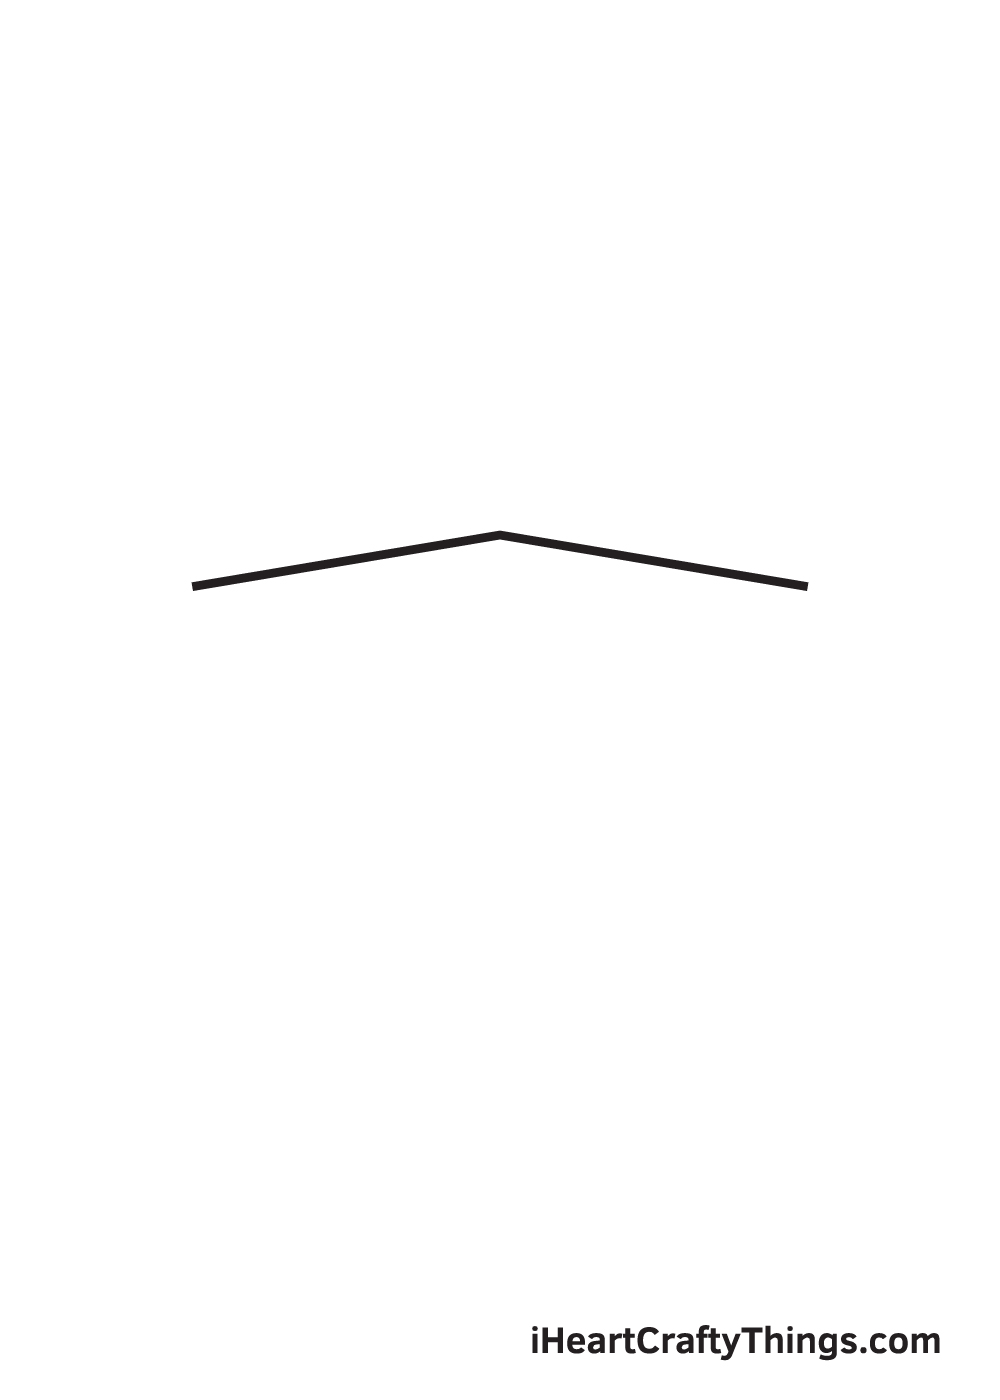
Let'due south create a simple yet beautiful box of nowadays! To go along it elementary, start by drawing the upper office of the present.
Draw two diagonal lines connected in the middle, but like the one seen in the illustration higher up.
Drawing a nowadays is highly dependent on straight lines. So, experience free to apply a ruler to draw straight lines quickly and easily.
Footstep 2 — Create an Outline of the Present'southward Lid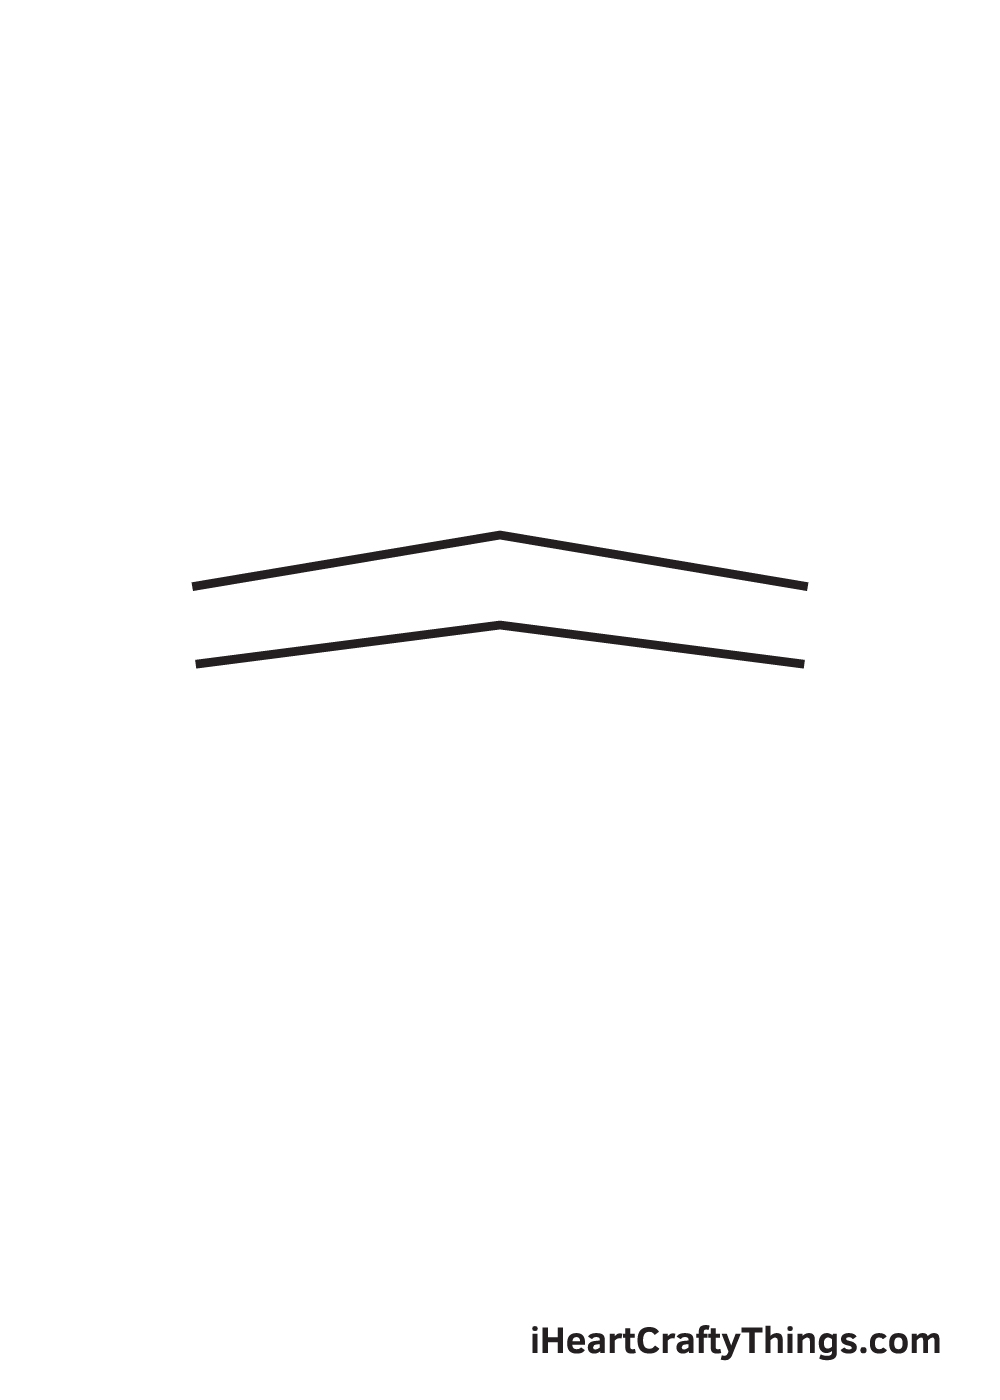
Repeat the previous step and draw another line with a similar form correct underneath the beginning 1 nosotros drew previously. This another set of the continued diagonal lines forms the bottom part of the lid of the present.
At this point, you should now be seeing two parallel lines that are both arched or angled in the middle.
Pace 3 — At present, Finalize the Hat of the Present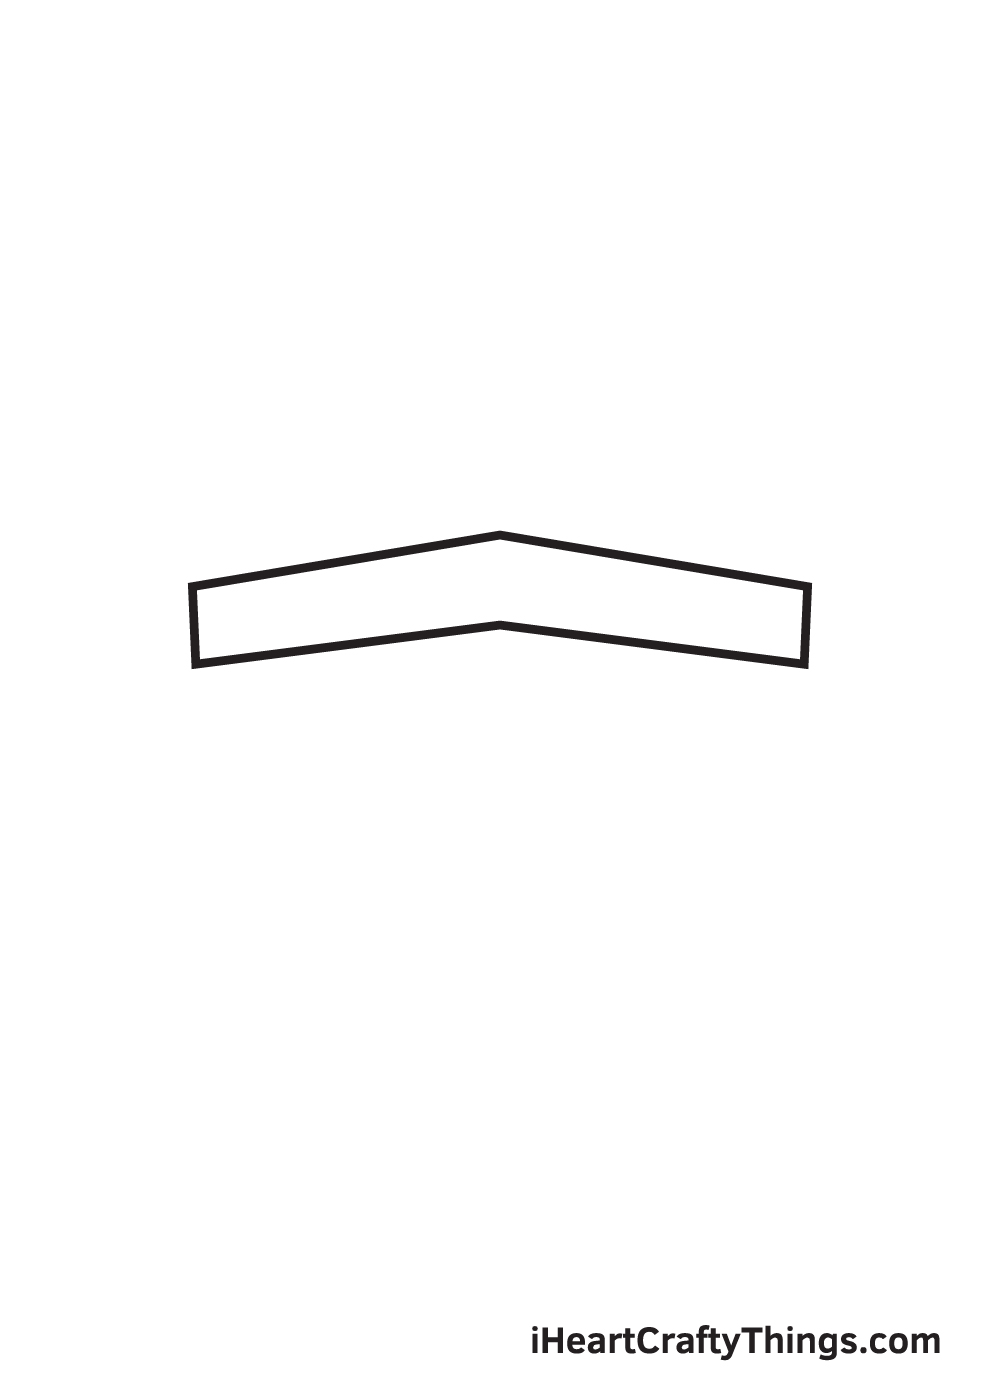
At present, it's time to connect the two sets of diagonal lines on both sides to finalize the lid of the present. Connect both sides past adding a brusk vertical on each side.
Later finishing this step, the construction of the lid should at present exist fully formed.
Step iv — Draw the Bottom Half of the Present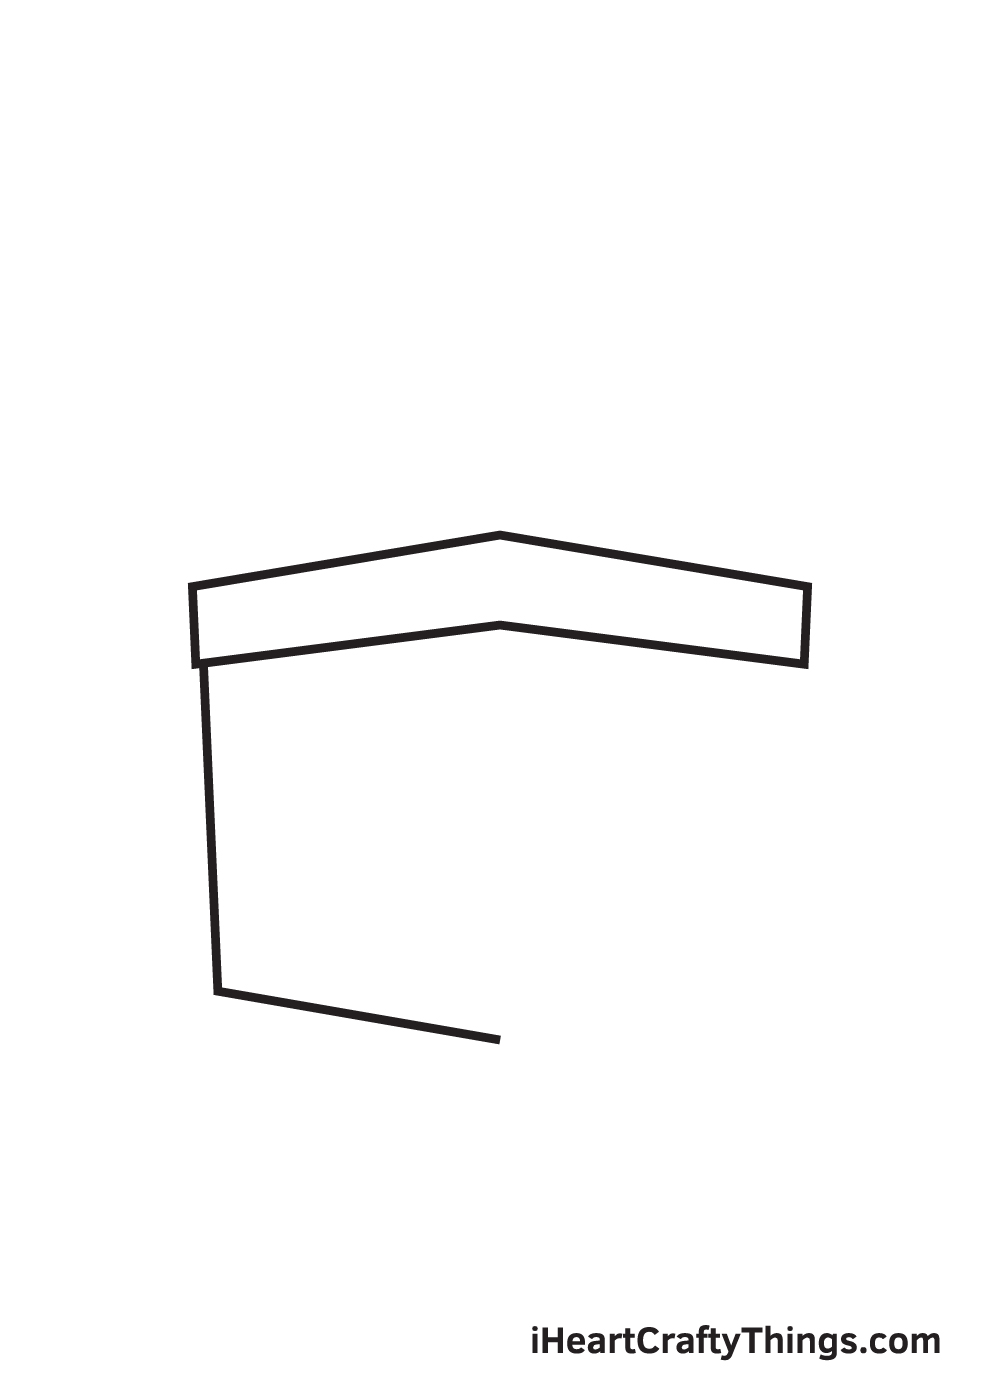
In this step, we volition be cartoon the box part of the nowadays.
Create the left role of the box past cartoon a long, nearly vertical line and connect this with a shorter diagonal line at the bottom, equally shown in the analogy. This forms the one-half of the box of the present.
Stride v — Finalize the Construction of the Nowadays
Here, we volition be completing the box part of the present.
Simply draw the 2d half of the box past repeating what you did in Step 4, except you lot will do it for the correct side of the box of your present.
Step vi — Depict the Dimensions of the Present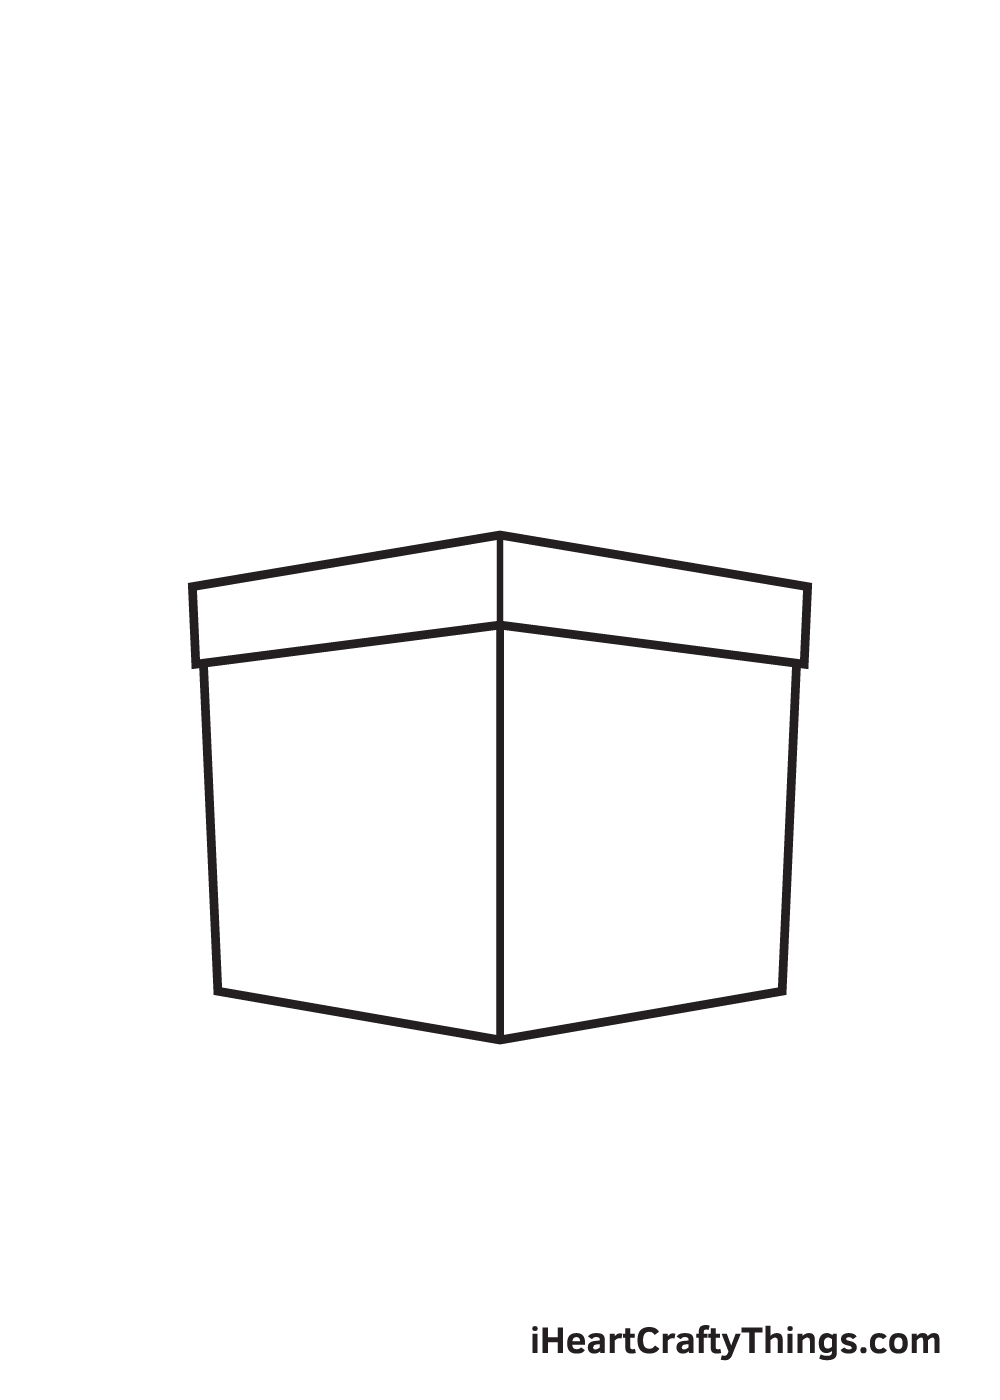
To make the present look realistic, we volition be adding a short vertical line right at the middle of the lid likewise equally a longer vertical line right at the centre of the box.
These two lines should appear continued as shown in the illustration above.
These lines class the edges of the box, making it appear iii-dimensional.
Stride 7 — Next, Draw the Ribbons of the Present
Of course, a present wouldn't be complete without a gift bow at the very pinnacle! In this pace, that'southward exactly what we'll be working on.
It's fourth dimension to add together more excitement by adding the gift bow! Draw the souvenir bow past adding 2 sets of inverted U-shaped curves at the top of the lid, just like the ones in the illustration.
Step eight — Complete the Bow at the Height of the Nowadays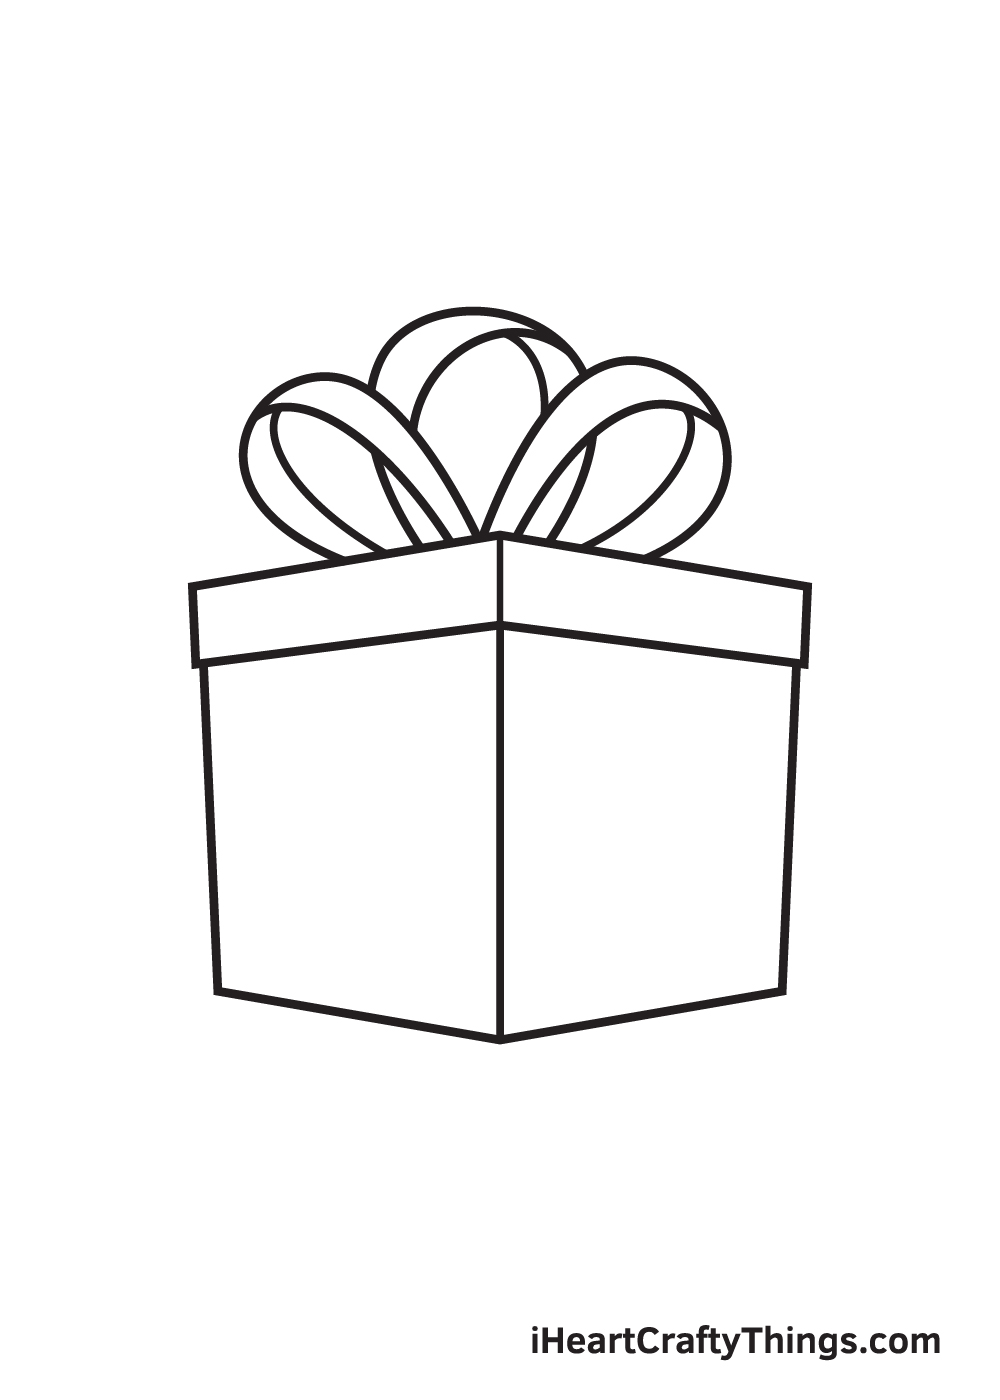
Draw another U-shaped curve in the middle of the starting time 2 figures we drew in the previous step. This forms the third gear up of souvenir bows.
Make sure that this curve is slightly bigger than the beginning two that we drew previously.
Pace 9 — At present, Gift Wrap Both Sides of the Present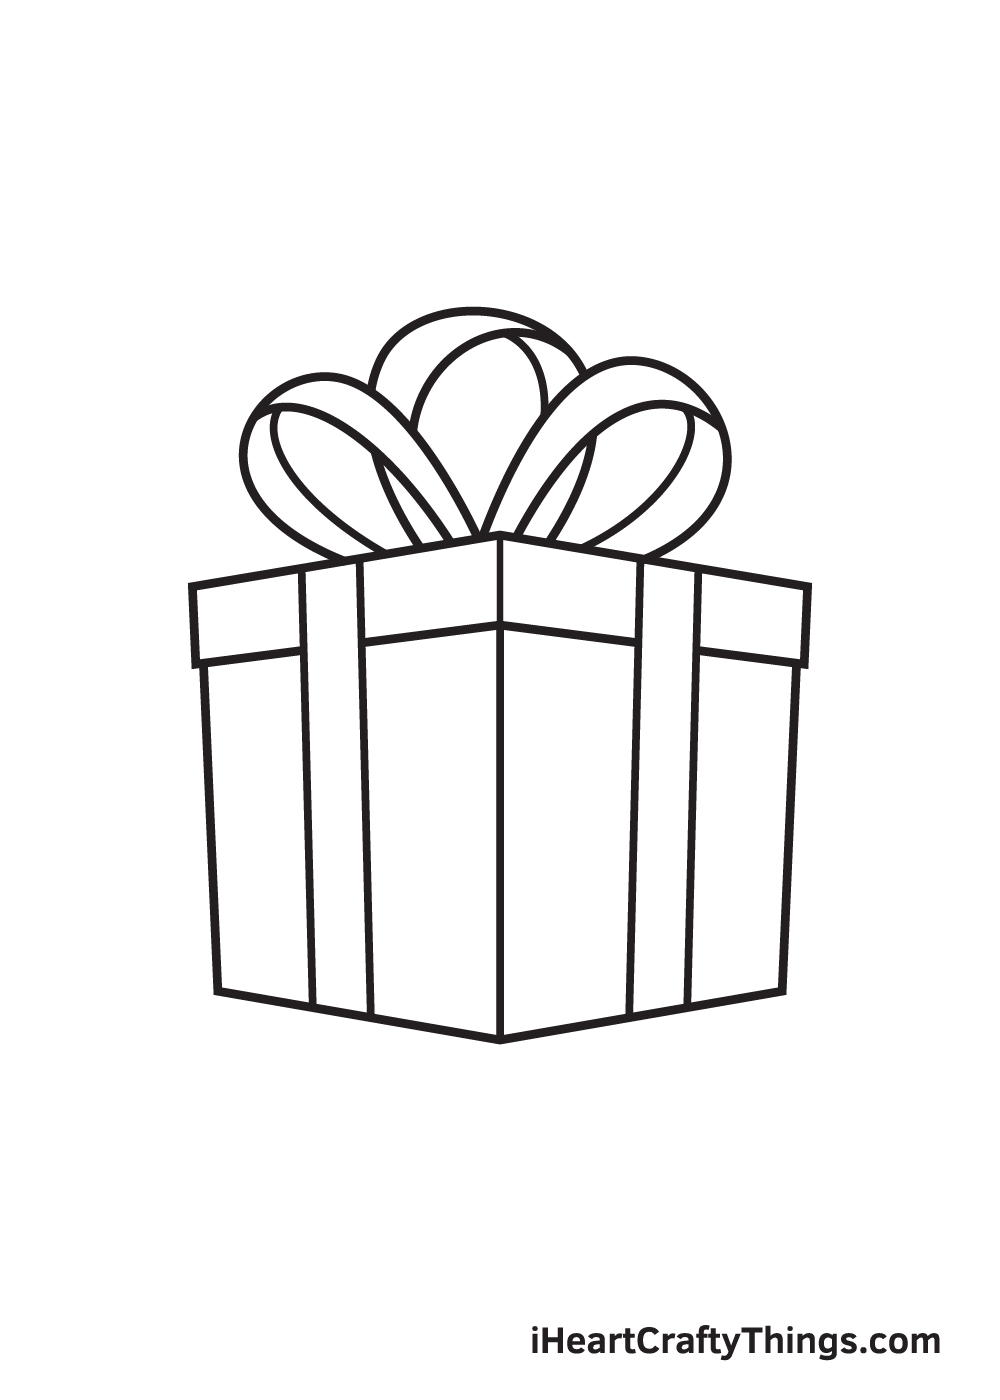
Complete the look of the souvenir bow adding the lace wraparound on the nowadays. Simply draw two parallel vertical lines on both sides of the present to create this outcome!
Don't forget to erase any parts of the nowadays that overlaps within the lace!
The final step is to add color on your beautiful present! Equally you can run into in the illustration to a higher place, we used a combination of gilt and pink colors, creating a vibrant and colorful present!
Feel complimentary to use any colors you like to fill in the colors of the present! We suggest using more than 1 color to make the nowadays look more than fun.
Have fun playing with colors and scout as the present ultimately comes to life!
Your Present Cartoon is Complete!
We hope you had a fun drawing activity with this footstep-past-step present drawing tutorial. What do you think is within this present? Who knows?! Information technology's the mystery and the anticipation of not knowing that makes information technology more exciting!
Retrieve, all of our drawing tutorials are 100% gratis for you to utilise equally materials and reference for your drawing activities.
Nosotros are regularly updating our "How to Draw" itemize, so don't forget to keep checking back to continuously enjoy make-new drawing tutorials!
Once you lot're washed drawing and coloring a nowadays, make certain to show off your artwork! Take a photograph of your colored drawing and share it on our Facebook page and on Pinterest.
And while you're at it, we promise you take time to like our Facebook page too!
We tin't wait to see your mysterious present drawing!

Source: https://iheartcraftythings.com/present-drawing.html
Posted by: leehure1986.blogspot.com
0 Response to "How To Draw A Birthday Present"
Post a Comment